Building a DApp with Web3.js Solidity and Truffle (Part 2)
Blessing Krofegha
7 Feb 2022
•
9 min read
This is a continuation of part 1, and If you want to get your hand's dirty building a smart contract, you can get started with this article. Else read part one to get acquainted with the terminologies involved in building a DApp.
What Will We Create?
Today, I'll show you how to write in blockchain from the ground up by creating a full-fledged blockchain application. We are going to make: We'll use a blockchain to implement smart contracts. If you don't understand solidity, don't worry; I'll teach you as I go!
In this article, you'll learn how to build a smart contract in Solidity, nothing too cumbersome; I'd try to explain everything with simplicity so you don't get lost. We would be building a full-fledged backend that powers our marketplace with Solidity and ganache for testing.
However, this article is not an introduction to smart contracts or blockchain; hence it does not cover the basics of blockchain. You can regard this article as a guide to building smart contracts. It also demands some basic knowledge of Solidity; if you're new to Solidity, I recommend you start with their docs to get familiar with SoliditySolidity before proceeding further.
Getting Started
All throughout this article, we will be writing a smart contract. Although we wouldn't be covering the basics, it's essential to know the concept behind writing smart contracts. Smart contracts are programs used to build blockchain applications written in the Solidity programming language. Like in the real world of business, contracts are the basis upon which companies agree and initiate, with a penalty for anyone who breaks the "contracts." In the same way, we use smart contracts as building blocks to create blockchain applications. Smart contracts are immutable, which means once a smart contract is deployed to a blockchain, it's almost impossible to update them like a regular application. That's because it represents a digital contract. Just like in business, the real-world agreement shouldn't change after it's created, right? Now that we are familiar with smart contracts, let's start building our project!
Introducing Dependencies
Below are some of the tools I am going to use in this article.
I want to briefly address some of the tools mentioned earlier to get started.
- The first off, Truffle Framework, offers tools for developing Ethereum smart contracts. It provides smart contract management, deployment, migration, network management, development console, etc.
- Ganache is a private blockchain uniquely designed to equip blockchain engineers with the exact toolset required to develop smart contract-based applications and run tests, With compatibility on different OS, such as Mac, Windows, and Linux.
Getting Tools
In this section, we will get the required tools into our respective machines, and I'll show you how to get them set up so we can begin writing the smart contracts.
Ganache Personal Blockchain
The dependency is a personal blockchain, a local development blockchain that can use to mimic the behavior of a public blockchain. I recommend using Ganache as your private blockchain for Ethereum development.
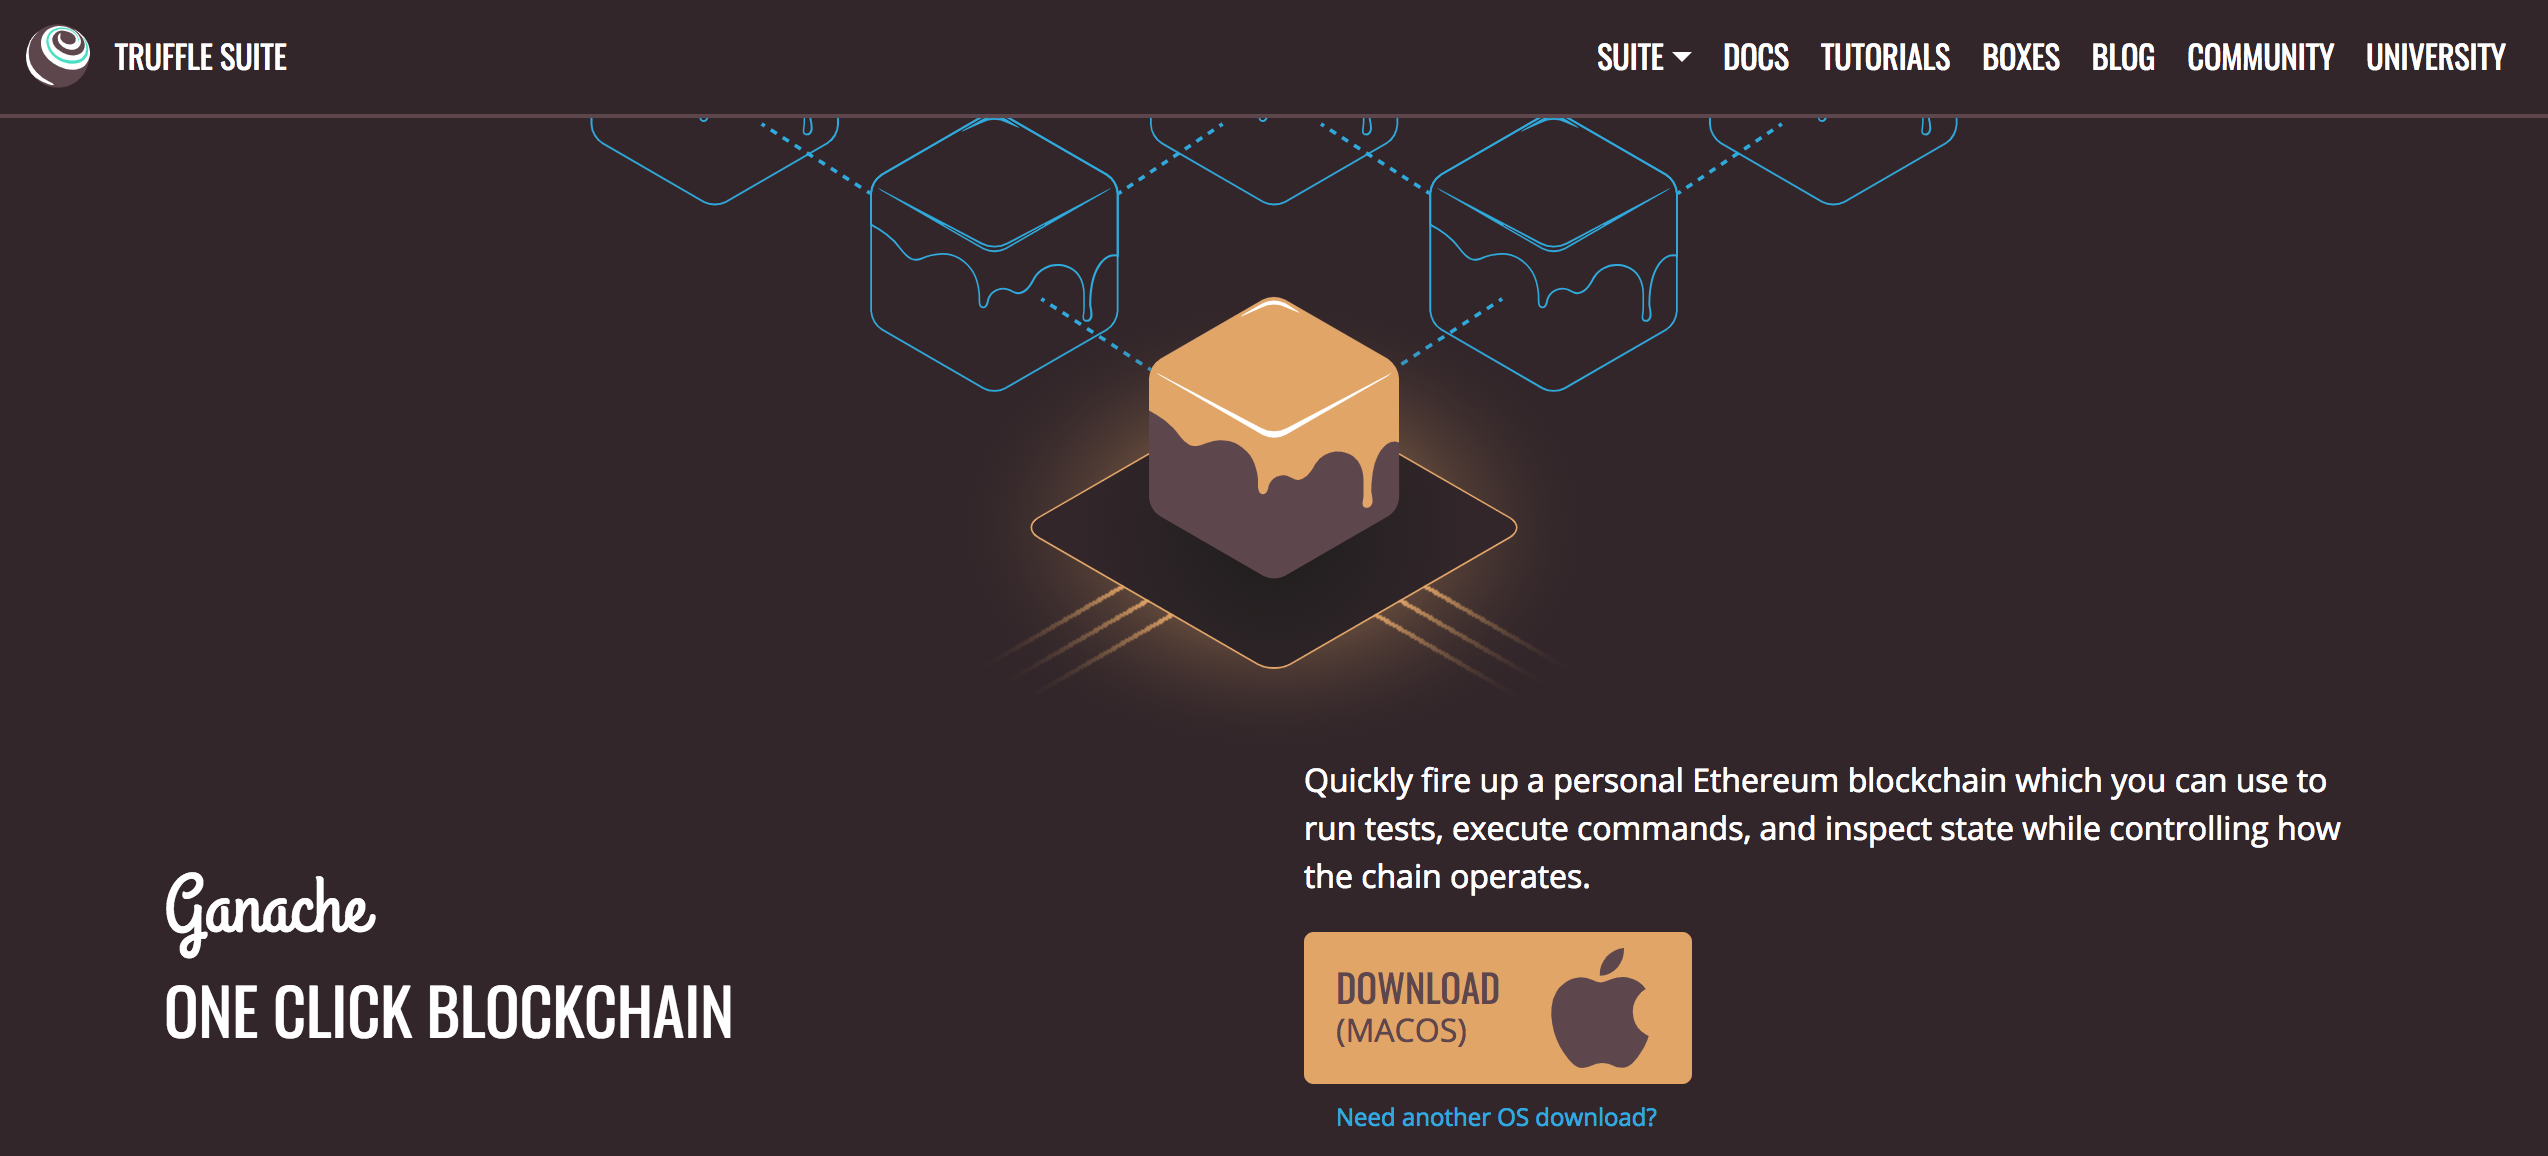
Setting up the desktop application is pretty straightforward. Find the most compatible release for your Operating system. Once you've downloaded it, unzip the folder run the installer, follow the setup. If everything works well, then you should look similar to this;

Bravo!, You have a private blockchain running in your machine. You can view the list of accounts associated with Ganache and are connected to the network. In Ganache, each account comes along with a whopping 100 ether, fantastic. Without Ganache coming to our help, you'd probably have to build your blockchain network and create an application on a test network, which will demand that you have a test wallet with decent amounts of ether to test. Which, as you already guess, is not cost-effective. So yeah, Ganache is our rescue! Node.js The following dependency is Node, which is essential for developing our app. If you don't already have it on your operating system, you can visit the Node.js website to download it.
Truffle Framework
The Truffle Framework is a complete package blockchain-based framework that provides tools to foster the development of Ethereum smart contracts using the Solidity programming language.

Some benefits of using Truffle is as follows;
- Automated Testing- Truffle supports javascript-based testing frameworks like Mocha and Chai to test smart contracts.
- Network Management - While development, you can connect seamlessly to any public blockchain on the Ethereum network.
- Development Console - Inside your command prompt, you can interact with smart contracts when running the truffle console with
truffle console. - Boxes(Client-side Integration) - You can create client-side boilerplate setups with a simple command that interacts with your smart contracts. See here how it works.
Install Truffle via NPM using this command;
Project Setup
-
Install Truffle Framework
npm install -g truffle
We use the -g flag here so that we can keep using the framework for other projects.
-
Generate the boilerplate code Run the following commands in your terminal
 cd dapp-shop
 truffle init
🎉 congrats! You've just set up your project. Let's take a look at the file structure:

There are a few folders to pay attention to.
From the top down:
contracts``/— Code for smart contracts lives here.migrations/— Deployment scripts for migrating your smart contracts to the blockchain live here.test/— Files for testing your smart contracts live here.truffle-config.js— The configuration for the project. Stuff like Solidity compiler version and network details live in here.
Next let's look at the truffle-config.js file, update the file with the code below;
module.exports = {
  networks: {
    development: {
     host: "127.0.0.1",
     port: 7545,
     network_id: "*",
    },
  },

  compilers: {
    solc: {
      version: "0.8.11"
    }
  }
 };
This file serve a a connectivity channel to our blockchain network.
The 127.0.0.1:7545 is to connect to our Ganache personal blockchain.
In this article, our focus will be primarily on writing smart contracts using Solidity.
Note: At the time of this article, the 0.8.11 version of the compiler is what’s being used, it’s important to specify this, so you don’t run into any errors.
Let's get started!
In this section, we'll be building a marketplace writing smart contracts using solidity. To begin with, we'll start writing the functionality that enables users to list items in a marketplace.
Sell Items
We'll start by building the first feature, which will allow users to post items for sale in the marketplace. To do so, we'll need to use a struct to model the product. Inside the contracts folder, change the file name to Shopify.sol and paste the codes below in it.
// SPDX-License-Identifier: MIT
pragma solidity 0.8.11;
contract Shopify {
    struct Product {
        uint id;
        string name;
        uint price;
        address owner;
        bool purchased;
    }
    address public owner;
    string public name;
    uint public productCount = 0;
    mapping(uint => Product) public products;

    event ProductCreated(
        uint id,
        string name,
        uint price,
        address owner,
        bool purchased
    );
    event ProductPurchased(
        uint id,
        string name,
        uint price,
        address owner,
        bool purchased
    );
    constructor() {
        name = "Workshub Marketplace";
        owner = msg.sender;
    }
    function createProduct(string memory _name, uint _price) public {
        // Require a valid name
        require(bytes(_name).length > 0);
        // Require a valid price
        require(_price > 0);
        // Increment product count
        productCount ++;
        // Create the product
        products[productCount] = Product(productCount, _name, _price, msg.sender, false);
        // Trigger an event
        emit ProductCreated(productCount, _name, _price, msg.sender, false);
    }
Like most programming languages, solidity allows you to create your data structures with arbitrary attributes.
To that effect, we created a data structure called Product, which stores our attributes, such as id, price, name, owner, purchased, and with their respective data types.
Next, on line 12, we want to track how many products exist in the smart contract with a productCount counter.
Note - they are simple ways to get a counter that can only be incremented, decremented, or reset. Very useful for ID generation, counting contract activity, among others.
Next, on line 13, we need a place to store this Product on the blockchain. To achieve that, we need to create a Mapping.
Mappings work like associative arrays with key-value pairs, and at such, they have unique keys which invariable returns specific unique values.
This article will use id as the key and Product as the struct.
It will essentially allow us to look up a product by id, like a database.
Next, on line 15 -25, we added an event definition using the event keyword so that the function will trigger it. This is to verify that a product is created on the blockchain.
Next, on lines 25 to 36, we created a function that creates new products.
The function ensures that a new product is created and that struct is added to the mapping such that it can store it on the blockchain. Lastly, the function triggers the event to alert that a product was created.
Our function(create products) accepts a name and price as arguments.
The price is expressed in WEI, Ether's most minor unit.
- Furthermore, we check that the price is greater than 0 and that the name is also present.
- By increasing the product count, we generated another new product id. Next, we create a new product and add it to the mapping.
Note- The msg.sender is the user's address responsible for creating the Product. Lastly, we trigger the event as proof that the Product has been completed.
Buy Items
Moving forward, whenever someone calls this function, they will submit the product's id that they want to purchase (our client-side application will handle this). They will also send Ethereum cryptocurrency from their wallet to buy the product when they call this function.
Inside the Shopify.sol file right after the createProducts function paste the codes below;
    function purchaseProduct(uint _id) public payable {
        // Fetch the product
        Product memory _product = products[_id];
        // Fetch the owner
        address _seller = _product.owner;
        // Make sure the product has a valid id
        require(_product.id > 0 && _product.id <= productCount);
        // Require that there is enough Ether in the transaction
        require(msg.value >= _product.price);
        // Require that the product has not been purchased already
        require(!_product.purchased);
        // Require that the buyer is not the seller
        require(_seller != msg.sender);
        // Transfer ownership to the buyer
        _product.owner = msg.sender;
        // Mark as purchased
        _product.purchased = true;
        // Update the product
        products[_id] = _product;
        // Pay the seller by sending them Ether
        payable(msg.sender).transfer(msg.value);
        // Trigger an event
        emit ProductPurchased(productCount, _product.name, _product.price, msg.sender, true);
    }
Let me explain what this function does.
- We begin by retrieving the product from the mapping and creating a new copy in memory.
- The current owner is then saved to a variable. We'll be transferring product ownership within this function. Thus, we'll need to know who the original owner was.
- Following that, we add a few conditions. We verify that the buyer has a legitimate ID, that the transaction contains enough Ethereum coin, that the buyer is not the vendor, and that the product has not been purchased previously.
- The transaction is then facilitated. We give the customer possession of the product, label it as purchased, and add it to the mapping. The cryptocurrency payment is then sent to the vendor. It's worth noting that the amount of Ether coin is tracked in Solidity via the function's metadata. We can use the global variable msg.sender to obtain this value. Wei also expresses this value (see video for further explanation).
- Finally, we indicate that the product has been successfully generated by triggering an event.
Let's make a new product sales event now. It will function nearly identically to the event we built in the previous step, but with a different name:
Next, let's create a new event for product sales. It will work almost exactly like the event we created in the last section, just a different name:
    event ProductPurchased(
        uint id,
        string name,
        uint price,
        address owner,
        bool purchased
    );
If you did everything correctly, your Shopify.sol smart contract should look like this;
// SPDX-License-Identifier: MIT
pragma solidity 0.8.11;
contract Shopify {
    struct Product {
        uint id;
        string name;
        uint price;
        address owner;
        bool purchased;
    }
    address public owner;
    string public name;
    uint public productCount = 0;
    mapping(uint => Product) public products;

    event ProductCreated(
        uint id,
        string name,
        uint price,
        address owner,
        bool purchased
    );
    event ProductPurchased(
        uint id,
        string name,
        uint price,
        address owner,
        bool purchased
    );
    constructor() {
        name = "Workshub Marketplace";
        owner = msg.sender;
    }
    function createProduct(string memory _name, uint _price) public {
        // Require a valid name
        require(bytes(_name).length > 0);
        // Require a valid price
        require(_price > 0);
        // Increment product count
        productCount ++;
        // Create the product
        products[productCount] = Product(productCount, _name, _price, msg.sender, false);
        // Trigger an event
        emit ProductCreated(productCount, _name, _price, msg.sender, false);
    }
    function purchaseProduct(uint _id) public payable {
        // Fetch the product
        Product memory _product = products[_id];
        // Fetch the owner
        address _seller = _product.owner;
        // Make sure the product has a valid id
        require(_product.id > 0 && _product.id <= productCount);
        // Require that there is enough Ether in the transaction
        require(msg.value >= _product.price);
        // Require that the product has not been purchased already
        require(!_product.purchased);
        // Require that the buyer is not the seller
        require(_seller != msg.sender);
        // Transfer ownership to the buyer
        _product.owner = msg.sender;
        // Mark as purchased
        _product.purchased = true;
        // Update the product
        products[_id] = _product;
        // Pay the seller by sending them Ether
        payable(msg.sender).transfer(msg.value);
        // Trigger an event
        emit ProductPurchased(productCount, _product.name, _product.price, msg.sender, true);
    }
}
Conclusion
If you get to this article stage, you should pat yourself at the back. We did build the smart contract of our commerce app with Solidity. In the next part, we will treat how we connect our smart contract to the client-side application using React. We would also discuss connecting our wallets to Metamask to buy items. Lastly, we will deploy our smart contract to an actual blockchain in the next part.
Blessing Krofegha
Blessing Krofegha is a Software Engineer Based in Lagos Nigeria, with a burning desire to contribute to making the web awesome for all, by writing and building solutions.
See other articles by Blessing

WorksHub
Jobs
Locations
Articles
Ground Floor, Verse Building, 18 Brunswick Place, London, N1 6DZ
108 E 16th Street, New York, NY 10003
Subscribe to our newsletter
Join over 111,000 others and get access to exclusive content, job opportunities and more!